Overview of Business Hours, Shift Hours, and Holiday Calendar
Introduction
The Business Hours and Shift Hours framework allows organizations to define and manage working schedules with greater accuracy and flexibility. This ensures that system activities, availability, and scheduling are aligned with actual operational hours across teams, users, and regions.
At the organization level, Business Hours enable administrators to define the organization’s standard operating hours. These hours act as the default working schedule and provide a consistent baseline for all system operations, helping maintain clarity and alignment across the platform.
However, organizations often operate with distributed teams, multiple time zones, or role-based schedules that differ from the default business hours. To support these real-world scenarios, the platform introduces Shift Hours within Account Setup. Shift Hours allow administrators to configure custom working schedules for specific users or teams, independent of the organization’s default business hours.
With Shift Hours:
- Administrators can assign custom working hours to selected users or teams.
- System activities, availability, and scheduling automatically respect the assigned shift hours.
- Users without an assigned shift continue to follow the default Business Hours.
- Holidays can be defined at the shift level, ensuring that non-working days are accurately reflected for specific teams or user groups.
Together, Business Hours, Shift Hours, and the Holiday Calendar provide a unified and flexible scheduling framework. This setup ensures accurate availability mapping, improves operational efficiency, and supports effective workforce management across different geographies and working models.
What are Business Hours, Shift Hours and Holiday Calendar?
Business Hours
Business Hours define the standard working hours of your organization at the account level. These hours represent the default operational schedule and are used by the system to determine when activities, workflows, and availability should be considered active.
Business Hours apply to all users by default unless a specific shift is assigned. They ensure consistency across the platform by aligning system behavior with your organization’s official working timings.
Shift Hours
Shift Hours allow organizations to define custom working schedules for specific users or teams that may operate outside the default Business Hours. This is especially useful for distributed teams, regional operations, or roles that follow different work patterns.
Shift Hours override the default Business Hours for the users or teams they are assigned to. For users who are not assigned to any shift, the standard Business Hours continue to apply.
This flexibility ensures that activities, availability, and scheduling accurately reflect real working hours for every team.
Holiday Calendar
The Holiday Calendar defines non-working days during which business activities are paused. Holidays can be configured at the organization level or specifically for a shift, allowing different teams to observe different holidays based on their region or operational needs.
When a holiday is configured:
- The system treats the day as non-working.
- Activities and availability automatically adjust to reflect the holiday.
- Shift-specific holidays take precedence for users assigned to that shift.
How They Work Together
- Business Hours act as the default working schedule.
- Shift Hours provide flexibility for teams or users with different working patterns.
- Holiday Calendar ensures non-working days are accurately respected at both the business and shift levels.
Together, these features help organizations maintain accurate scheduling, improve operational efficiency, and manage work hours effectively across teams and geographies.
Prerequisite
- The account must include the "Business Hours & Shift Hours” feature as part of their package.
- Permission to access the Business Hour Configuration feature must be granted to the user.
Steps to Configure Business Hours, Shift Hours and Holiday Calendar
Business Hours
Step 1: Navigate to the Settings button in the header, as highlighted in the screenshot below.
Step 2: Click Account Setup from the left navigation panel. From the top-right navigation, select Business Hours. You can also access it by searching for Business Hours in Settings and navigating to “Account Setup > Business Hours”.
Step 3: Select the Business Hours Type
You can choose one of the following options based on your operational needs:
- 24 Hours / 7 Days: Select this option if your organization operates round the clock, all days of the week.
- 24 Hours / 5 Days: Choose this if your organization operates 24 hours a day but only on specific weekdays.
- Custom Hours: Select this option to define specific working days and working hours.
Step 4: Configure the Week Start Day. Use the Week Starts On dropdown to select the first day of your business week (e.g., Monday).

Step 5: Select Business Days
- 24 Hours / 7 Days
- 24 Hours / 5 Days
- Select the days on which your organization operates.
- Selected days will be highlighted.
- Non-working days (such as weekends) will appear disabled.
- Custom Hours
If you selected Custom Hours, choose how working hours should be applied: - Same Hours Every Day
- Enter a Start Time and End Time.
- The same timing will apply to all selected business days.
- Different Hours Every Day
- Select Different hours everyday.
- Enter individual Start Time and End Time for each selected business day.

Note: Start Time is mandatory for all selected business days.
Step 6: Click Save to apply the Business Hours configuration.
Shift Hours
It is mandatory to configure the Business Hours in order to configure the Shift Hours and Holiday Calender.
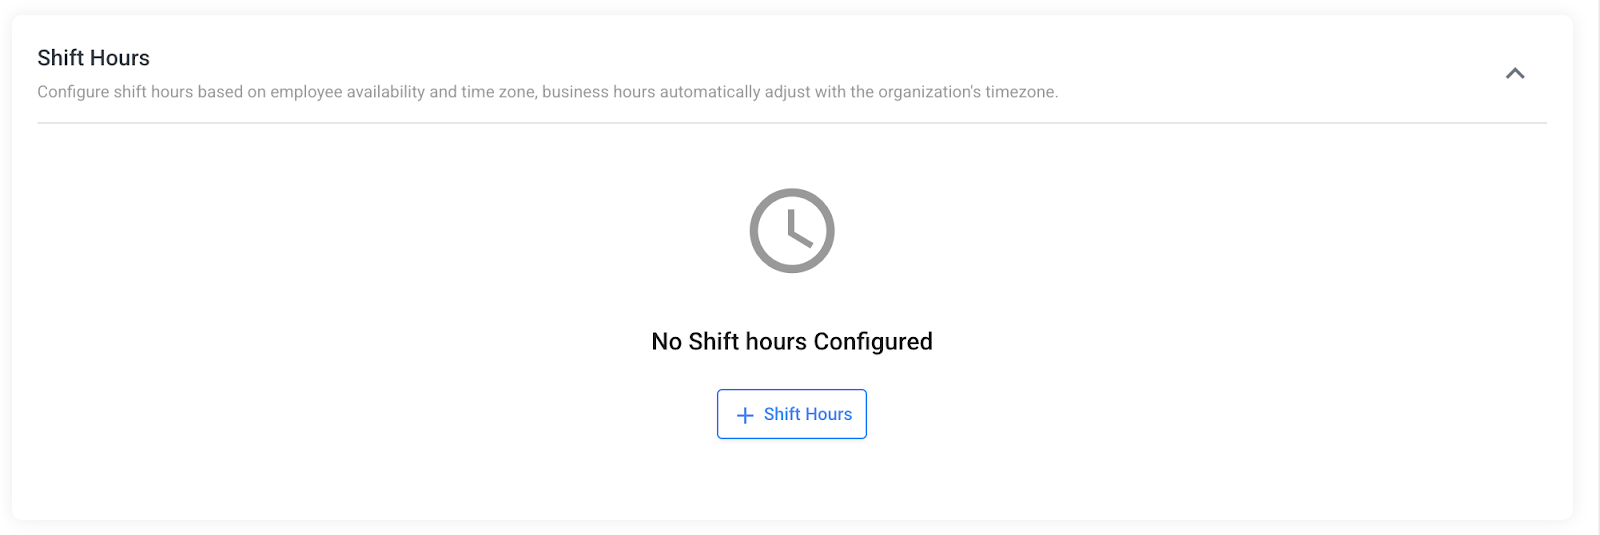
Step 1: Navigate to the Shift Hours section.Click on + Shift Hours to create a new shift configuration.
This opens the shift hours setup where you can define working days, timings, and user assignments.
Step 2: Enter Shift Name. Provide a meaning Shift Name (e.g., Morning Shift). This helps identify the shift while assigning it to users.
Step 3: Choose the days on which the shift will be active.
Selected days (e.g., Monday, Tuesday) will be highlighted. Unselected days will remain disabled and treated as non-working days for this shift.
Step 4: Configure Shift Hours
Choose how the working hours should apply:
- Same Hours Every day
- Select the same hours everyday.
- Enter a common Start Time and End Time.
- These timings will apply to all selected shift days.
- Different Hours Every day
- Select Different hours everyday.
- Configure individual Start Time and End Time for each selected day.
Note: Start Time is mandatory for all selected shift days.
Step 5: Assign Shift to Users
- Use the Assign to Users dropdown.
- Select one or more users who should follow this shift.
- Only assigned users will be governed by these shift hours.
Users not assigned to any shift will continue to follow the default Business Hours.
Step 6: Click the Save button to apply the shift.
Step 7: Once you click Save, the newly created shift will appear under the Shift Hours section.
Click on the pencil icon to modify the shift details such as shift name, working days, hours, or assigned users.
If the shift is in no user then clicking on delete icon to permanently remove the shift. All the user would be unassigned and it would follow the default business hours.
You can also click Add New Shift to create additional shifts as needed.
Holiday Calendar
Scroll down to the Holiday Calendar section under Business Hours.
This section allows you to define organization-wide holidays during which business hours and shift hours will not be applicable.
If no holidays are configured, you will see the message “No Holiday Configured”.
Step 1: Once clicked on Add Holiday Calendar. Choose the year for which you want to configure holidays.
Holidays added will be applicable only for the selected year.
Select where the holiday should apply:
- Business Hours (organization-wide), or
- Specific Shift(s) (applicable only to selected shift hours).
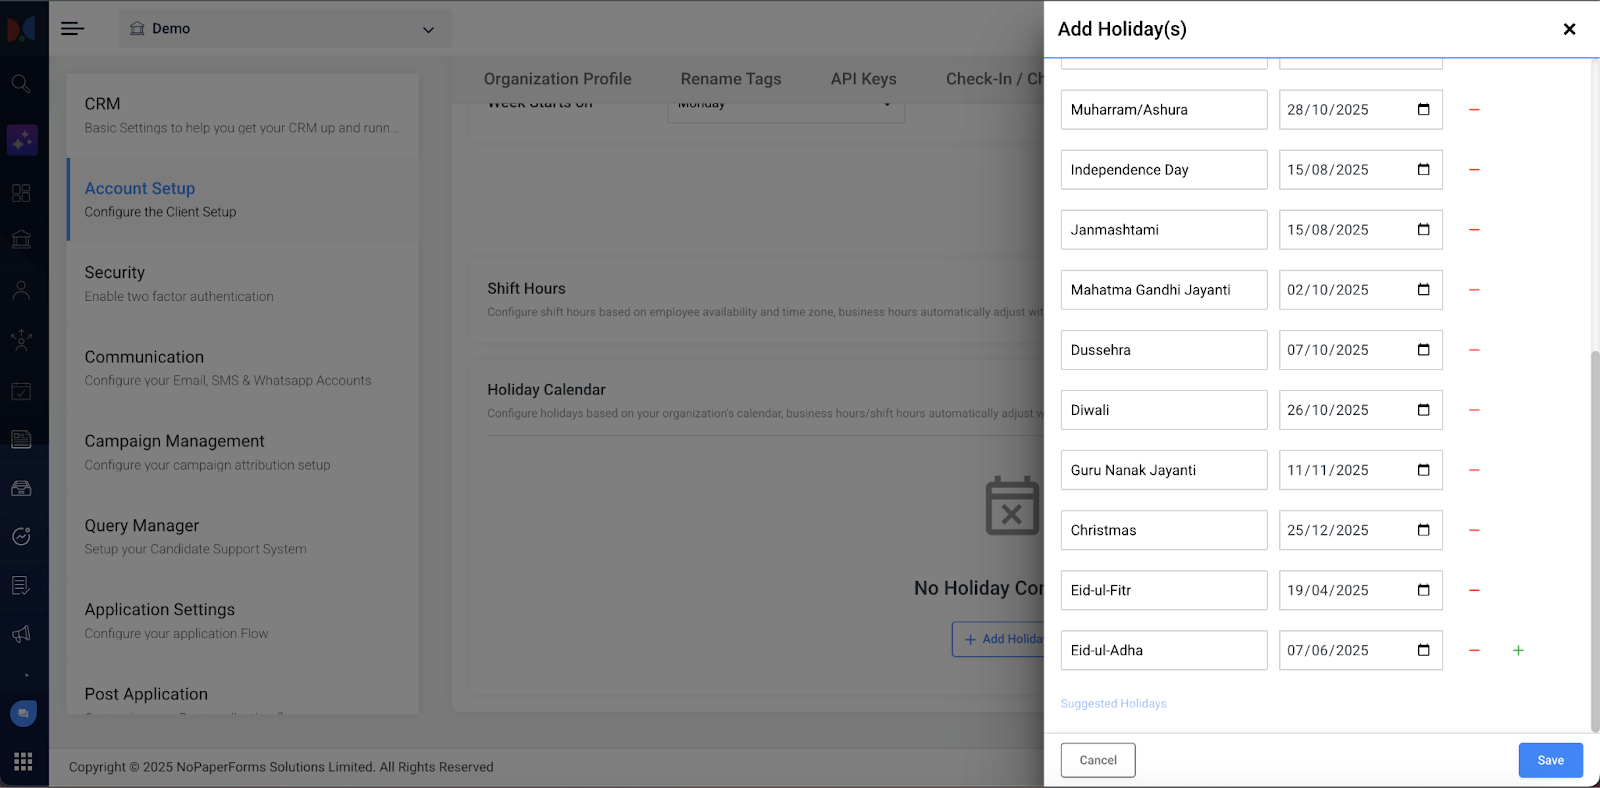
Step 2: Enter the Holiday Name, Select the Holiday Date.
Step 3: Click the ( + ) icon to add multiple holidays at once. Alternatively click on ( - ) icon to remove the holiday, if required
Step 4: Click on Suggested Holidays to quickly add commonly observed holidays for the selected year.
You may review and modify these before saving.
Step 5: Click Save to apply the configured holidays. Click Cancel to discard changes.
Step 6: Once holidays are successfully saved, the Holiday Calendar section displays the configured calendar as a list entry.
The name of the logic suggests the scope (Business Hours or Shift Hours), and the year for which holidays are configured.
For each holiday calendar, the user would be able to edit, copy, and delete the calendar.
If any new holiday calendar is required, then click Add Holiday to configure the new holiday calender
Conclusion
You have successfully configured the Business Hours, Shift Hours, and Holiday Calendar. This enables the system to accurately manage working hours, user availability, and non-working days, ensuring that all workflows, assignments, and communications are executed at the right time while minimizing manual intervention and improving overall operational efficiency.
Related Articles
WhatsApp Business Account Policy & Compliances for Spam Reports
Overview If your WhatsApp Business Account has been flagged for sending spam, it indicates non-compliance with WhatsApp’s Business Terms of Service. Repeated violations may result in account restrictions or permanent suspension. To avoid disruptions, ...DLT Registration for SMS Services Mandatory
Overview The Telecom Regulatory Authority of India (TRAI) has mandated that all organizations sending SMS communications must register on the Distributed Ledger Technology (DLT) platform. This initiative is aimed at: Reducing unsolicited commercial ...Configuring Check In/Check Out
Overview The Check-In/Check-Out feature in Meritto allows you to manage lead allocation efficiently based on counselor availability. By enabling this feature, leads, applications, or opportunities are assigned only to counselors who have checked in, ...Billing & Invoicing FAQs
What is the Professional Services framework? Implementation work delivered within your agreed Onboarding or Renewal scope, and any change requests raised during your 45-day Hypercare window, are fully covered — no caps, no charges. Requests raised ...Meritto Data & Logs Retention Policy
Overview Meritto Data & Logs Retention Policy establishes guidelines for managing data retention, storage, and disposal. Compliance Assurance: Ensures adherence to legal and regulatory requirements. Data Protection: Safeguards sensitive information ...